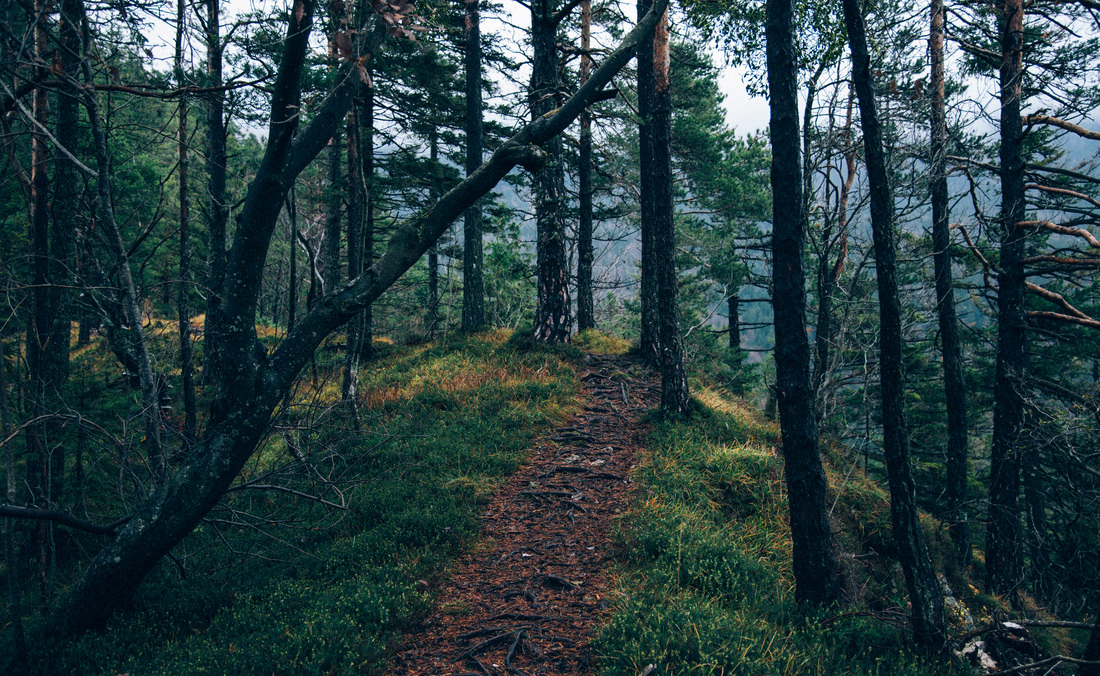
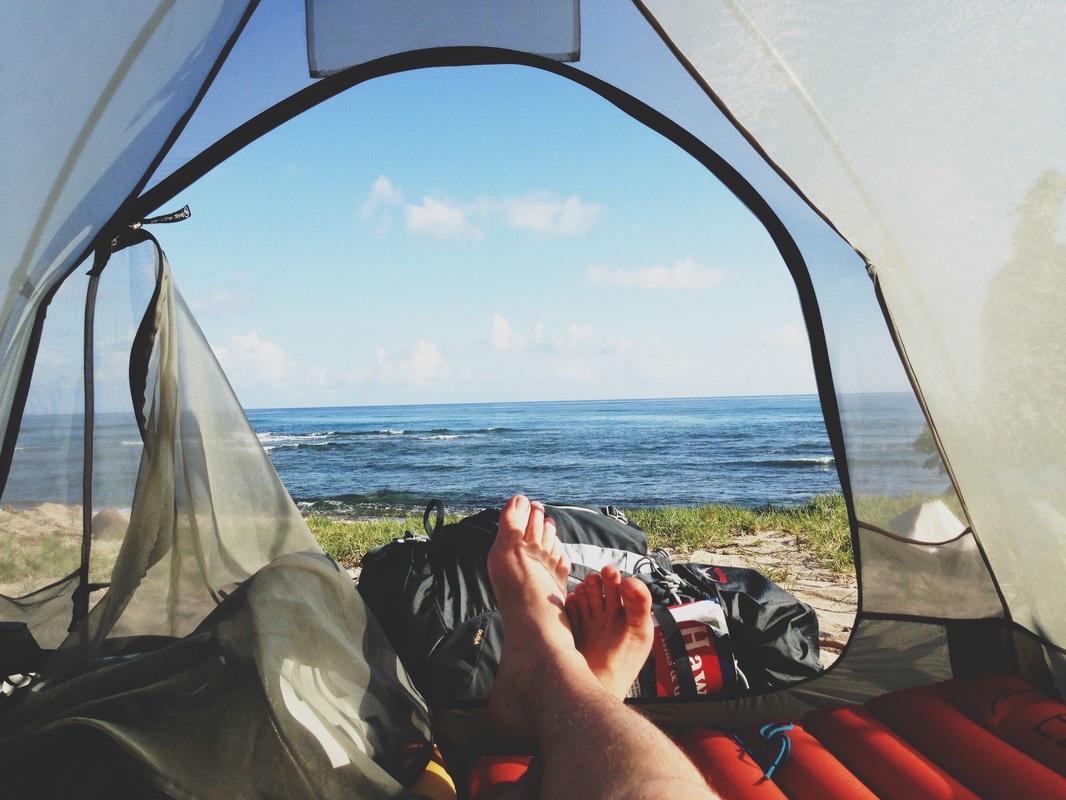
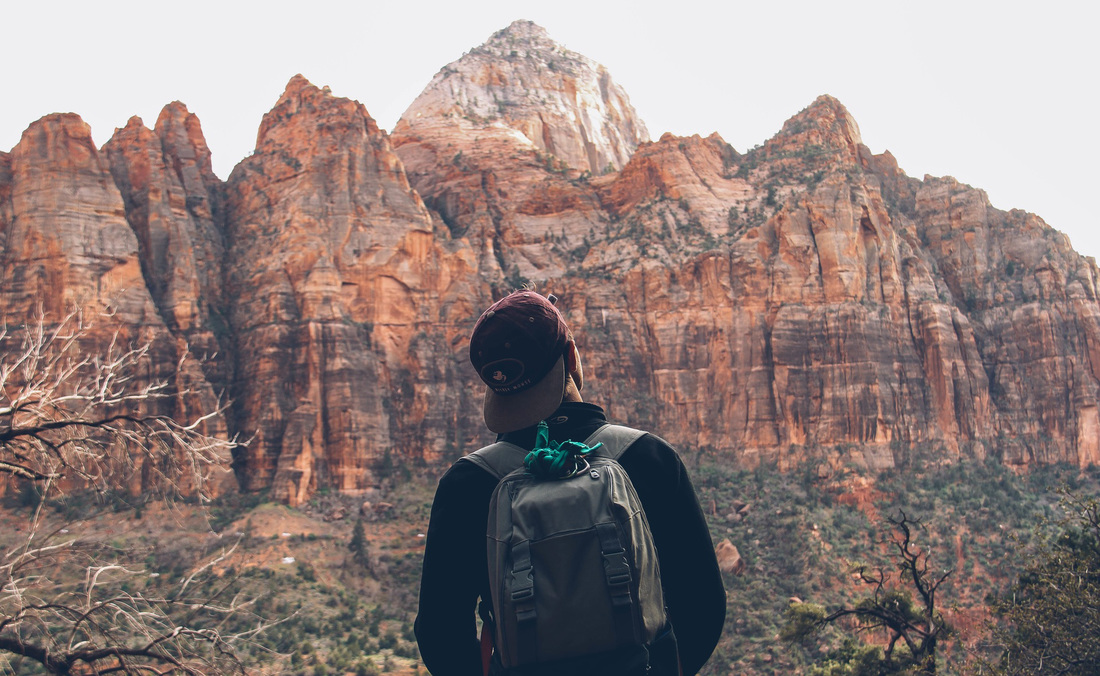
I'm James. This is my year of travel.
 As a first-timer, I went to an open park and just got used to how it flies, and of course I had moments where I jerked it too far one way or another, but it held its position very steadily when I brought it close to a fence by a baseball field, elevated it above it, flew over it, then lowered it and repeated the other way. If there are obstacles in the way, it is not high-end enough to have a feature such as collision detection, so pay attention to that.Īs for flying it, I found it to be easy to control and very responsive to my input. Each one lasts nearly half an hour from a full charge, and when it gets low the lights on the drone will start to turn red and it will try to return to its launch point. It is also important to keep an eye on your battery's charge. The range of the remote itself extends beyond this, but as a novice drone pilot this was something I found I had to be aware of. This will help with positioning, direction, and so on, and adjusting the camera's angle can be done through the remote as well.īe aware that there are limitations to the distance in which the wifi signal comes clearly back to the phone, so you can fly beyond that and get a choppy visual image. If you're flying the drone close to you and there are some obstacles such as tree limbs or power lines nearby, you might find it easier to steer it while watching it yourself, but once you're used to flying it further and higher away (and if you turn off Beginner limits in the app), this is where viewing it through the app comes in very handy. When you've set it up properly and connected to the drone's own wifi, you will be able to see remaining battery power in the drone and the remote, through the app. 
That said, setup is relatively easy and the instructions walk you through it step by step, whether with the booklet, a separate card that comes with the drone, or through the phone app. Do not just assume everything is good to go just because you calibrated it in a different place half an hour ago. I had this happen to me twice and the second time, it came close to veering into the side of a hill before I got it close enough to cut the motors for a semi-rough landing, but the drone itself was undamaged and it was a lesson learned. If you skip any steps or don't let them complete, you will run the risk of the drone trying to fly off on you as soon as you direct it into the air, and fighting with the controls can be a difficult experience especially for a novice. It is very important to go through the full setup process for calibration. I took the case off my Galaxy S10+ because it fit a little better without it. You can install an app that allows you to see through your phone what the drone sees, and the remote has a convenient clip that will hold the phone in place. Out of the box, the drone is essentially ready to fly once you do a bit of initial setup. A little more digging found the F11 Pro, which comes with a second battery and a few more features for a very similar price to the base version along with buying an extra battery separately, so I went with the Pro and bought a micro-SD card to use in the unit for recording video/photo. I was looking for something at a reasonable price with some decent features, and the Ruko F11 came to my attention as a generally low-cost intro-level drone with some options that go beyond the very basics. The app provides intuitive instructions, you can start the game with just few taps.I recently became interested in buying a drone as a complement to photo/video work I enjoy doing when I go out to different places.
0 Comments
Leave a Reply. |
AuthorWrite something about yourself. No need to be fancy, just an overview. ArchivesCategories |


 RSS Feed
